Your setup checklist
The six steps Givable walks you through, and the four things worth doing before you tell anyone.
Once you're signed in to a new Givable account, a Getting started panel appears in the bottom right. Work through it and you'll be taking donations by the end.
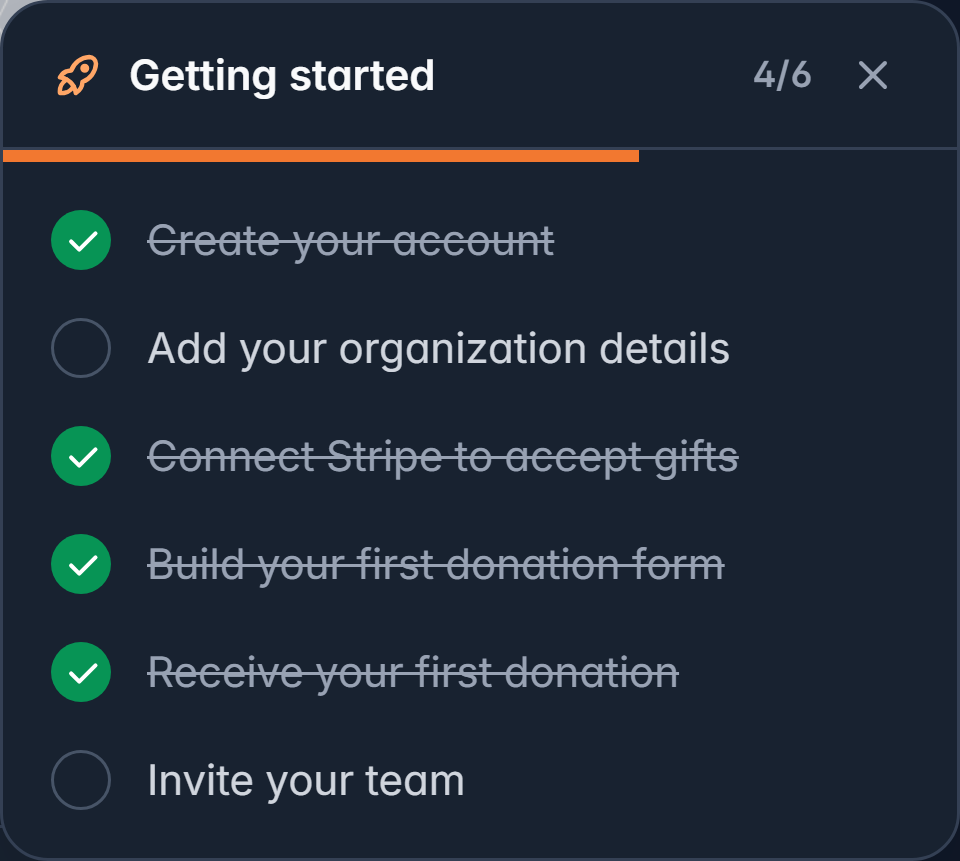
Each step ticks itself off as you finish it, and the panel disappears once they're all done. Minimize it and it tucks into the sidebar, ready when you are.
The six steps
Create your account
Start at givable.com. You'll confirm your email address, set up two-step verification, and enter your organization's details. After that you're signed in, and the rest happens inside Givable.
Add your organization details
Settings > Organization details. Your legal name and registered address, which appear on receipts.
Check these carefully: your legal name and tax ID lock after the first save. See Organization details.
Connect Stripe to accept gifts
Until this is done, your forms can't take money. It also sets the currency every total in Givable is shown in. See Connect payments.
Build your first donation form
Start from a template, change the wording and amounts, and publish. See Create a donation form.
Receive your first donation
The step ticks when a real gift arrives. Test gifts don't count, deliberately: this step proves the whole path works, from your form to your bank.
Invite your team
Settings > Team. Add the people you work with and choose what each of them can do. See Invite your team.
Four more things before you tell anyone
The panel gets you taking donations. These four make it look like you, and head off the awkward problems in week two.
Verify your email domain
Settings > Email domains. Add your own domain and Givable gives you records to add at your domain registrar, proving your emails really come from you.
Until then your receipts and appeals send from a generic address and are likelier to land in spam. Ask whoever manages your website's DNS: it's a ten-minute job for them, and it changes how every mail service treats your email.
Set your organization's mailing country first. The page needs it before it can set up a domain.
Use your own web address
Settings > Supporter portal shows the standard address your giving pages and donor portal use, and lets you add one custom domain of your own, typically a subdomain like give.yourcharity.org.
It needs DNS records too, so do it in the same sitting as your email domain. Donors are more willing to give on an address that looks like you.
Read the emails donors will actually get
Templates > Email Templates. Open your tax receipt and your thank-you, read them as a donor would, and send yourself a test.
Most organizations never look at these until a donor complains. Fifteen minutes here is the best-value quarter hour in the whole setup. See Email templates.
Give to your own form, then refund it
Publish the form, give a small amount with a real card, and refund it.
You'll see exactly what a donor sees, including the receipt arriving in an inbox, and you'll know the whole path works before your appeal goes out.